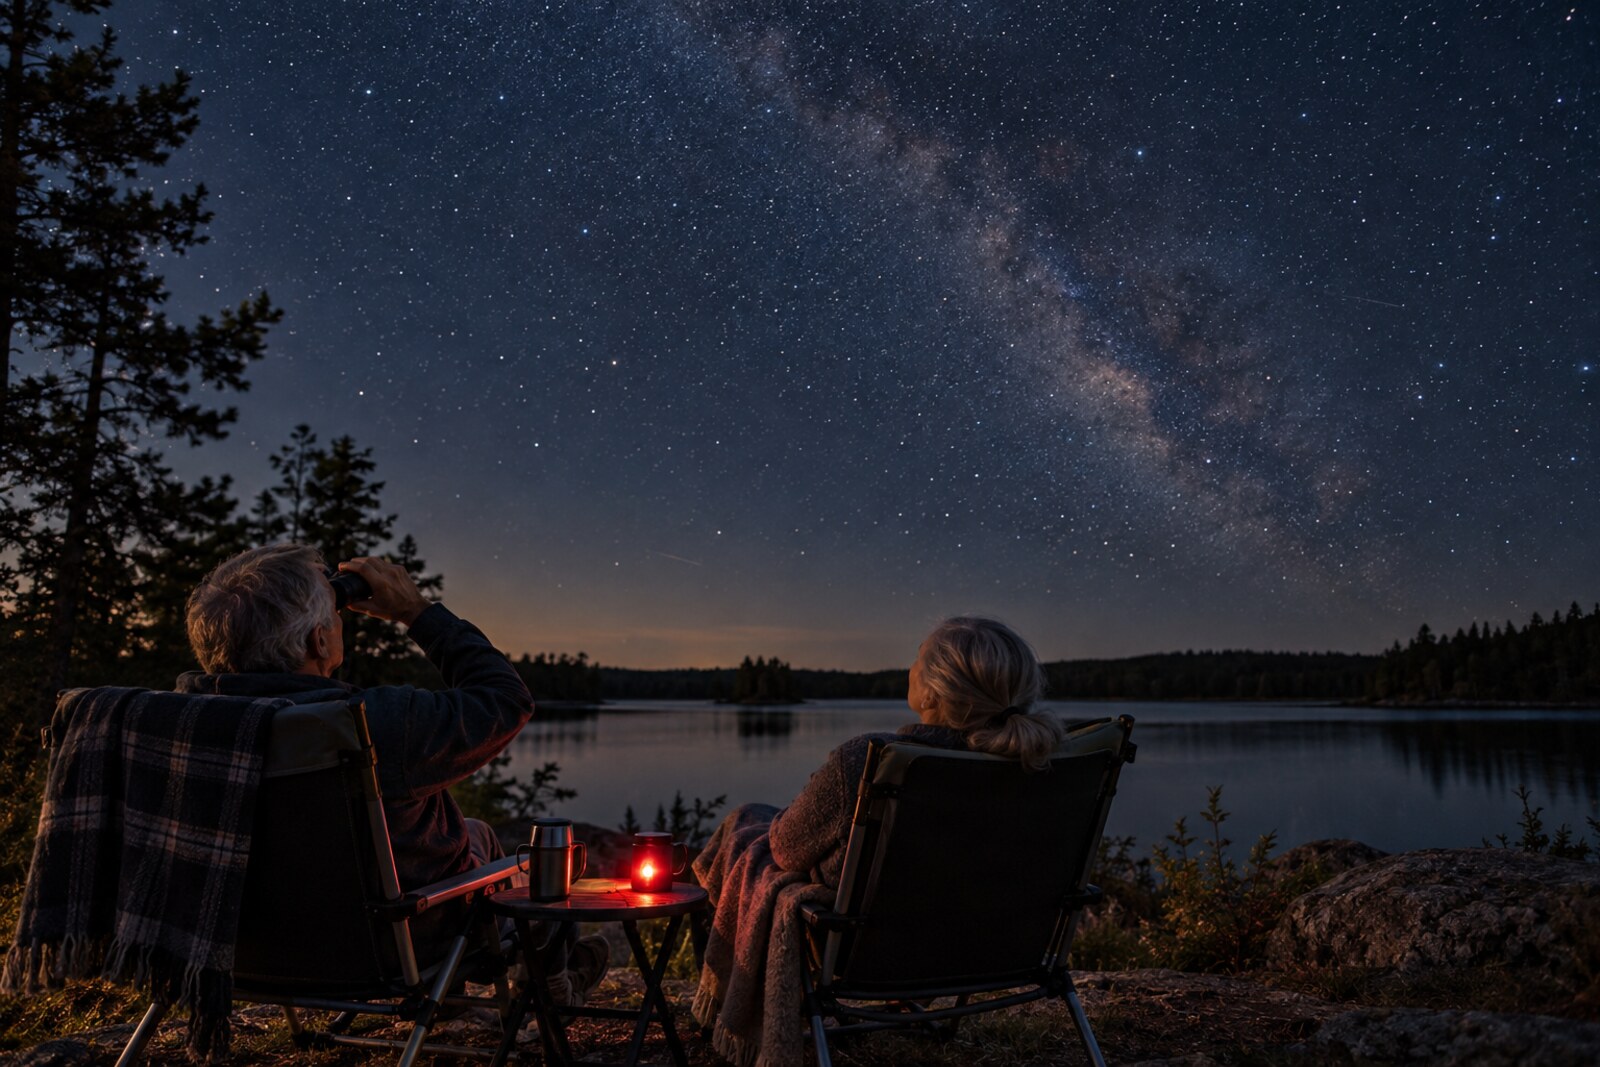
Most of us have become remarkably good at looking down—at phones, maps, books, grocery lists and the mysterious screw left over after assembling something that definitely should not have a mysterious screw left over.
Then, every so often, we step outside on a genuinely dark night and remember there is an entire universe overhead.
Stay out long enough and your eyes adjust. More stars appear. A satellite drifts silently through the darkness. Something bright turns out to be a planet. Under truly dark skies, the Milky Way becomes a pale river overhead.
Suddenly, sitting outside in the dark does not feel like doing nothing at all.
Stargazing can remain a simple excuse to sit outside—or grow into binocular astronomy, telescopes, photography, club nights and years of discovery. You decide how far it goes.
Begin without buying a telescope
This may be the most useful piece of beginner astronomy advice: do not buy a telescope yet.
Telescopes are wonderful, but it helps to know what you actually want to see. A bargain telescope with a shaky tripod and a narrow field of view can turn a lovely evening into forty-five minutes of trying to locate something everyone else can see perfectly well without it.
Start with your eyes. Notice how the Moon changes position and shape. Find one bright planet. Learn one recognizable constellation. Then add binoculars.
Ordinary 7x50, 8x42 or 10x50 binoculars reveal far more stars, show texture on the Moon and make bright clusters easier to explore. They also have one splendid advantage: you probably already know how to use them.
Astronomy does not begin with equipment. It begins with orientation.
Your first-night kit
Red light helps preserve the night vision your eyes slowly develop in darkness. If you do not own a red headlamp, several layers of red cellophane over a small flashlight can work for a first experiment.
Then give your eyes time. Do not spend five minutes outside, see a few stars and declare the evening a disappointment. Sit. Look. Wait. The sky gradually gets bigger.
- Binoculars, if you already own a pair
- A reclining lawn chair or a blanket
- Warm layers—even summer nights can cool quickly
- A dim red-light flashlight or headlamp
- A simple star chart or astronomy app
- Water, a warm drink and a little patience
Learn the sky in pieces
A star chart covered with names can make astronomy look like a memorization contest. It is not. Learn one landmark at a time.
In the Northern Hemisphere, the Big Dipper is a useful starting point when it is visible. Its pointer stars can guide you toward Polaris, the North Star. From there, you begin to understand direction.
Add another recognizable pattern later: Cassiopeia, Orion in the cooler months or the Summer Triangle. You are building a mental map rather than cramming for an exam.
There is a satisfying moment when you step outside somewhere unfamiliar and recognize an old celestial neighbour. The sky stops being scenery and becomes geography.
Make the Moon your first target
Beginners sometimes overlook the Moon because it seems too obvious. That is a mistake. Through binoculars, it is spectacular.
Try observing when the Moon is partly illuminated rather than perfectly full. Along the boundary between light and darkness—the terminator—long shadows make craters, ridges and mountains much easier to see.
Look again a few nights later. The landscape seems to change as the angle of sunlight shifts. You can spend years observing the Moon and keep finding details you missed before.
It also has the courtesy to be reasonably easy to locate.
Darkness matters more than equipment
A modest pair of binoculars beneath a genuinely dark sky can be more memorable than sophisticated equipment under heavy urban light pollution.
Start with the darkest safe, legal and convenient place near home. Turn off nearby lights, avoid staring at your phone and position yourself away from street lamps. When you are ready for a larger outing, Ontario has several celebrated dark-sky destinations.
Point Pelee National Park is a designated Dark-Sky Preserve and hosts selected Dark Sky Nights. Killarney Provincial Park has dark-sky facilities and an observatory. Lake Superior Provincial Park offers exceptionally dark viewing around areas such as Agawa Bay, while Quetico Provincial Park is recognized as an International Dark Sky Park.
Schedules, access and overnight rules change, so check the park’s official page before leaving home—especially when a special event keeps a park open later than usual.
A darker sky is often the most effective astronomy upgrade you can make—and it does not need batteries.
Try telescopes before you buy one
If the hobby catches hold, visit astronomers before visiting an online store.
The Royal Astronomical Society of Canada has local centres that hold meetings, observing sessions and public events. Beginners are welcome, and a public night may let you look through several instruments in one evening.
Ask owners what they love about their telescope. More importantly, ask what annoys them. Weight, portability, setup time, light-gathering ability, price and complexity all involve trade-offs.
A large telescope is not an upgrade if it is too heavy or awkward to carry outside. Trying different designs helps you discover what fits your interests—and your back.
What does stargazing cost?
The entry price can genuinely be zero. Use a chair you own, existing binoculars and a free astronomy app or printable chart.
A comfortable beginner kit might cost roughly CAD $100 to $300 if you add good binoculars, a red headlamp, a guidebook and warmer outdoor gear. A capable beginner telescope can cost several hundred dollars, and advanced equipment can sail comfortably into four figures.
None of that is compulsory. Someone with $5,000 of equipment and someone lying on a blanket can watch the same meteor cross the sky.
The universe has refreshingly poor VIP seating.
Make it social—or keep it wonderfully quiet
Stargazing works beautifully alone, with a partner or in a group. Astronomy clubs are especially easy social spaces because conversation arrives with a built-in opening line: “What are we looking at?”
Experienced observers often enjoy sharing what they know, and local groups can help you find safe, legal observing locations after dark.
But not every evening needs to become a lesson. Take coffee outside. Bring a friend. Watch for satellites. Notice how many meteors appear when you give the sky an uninterrupted hour.
There is room in astronomy for scientific curiosity and simple wonder at exactly the same time.
Your three-night beginner challenge
If the third night leaves you wanting to understand more, let the next step happen naturally: find a public astronomy event before buying equipment.
One of the pleasures of beginning a hobby after 50 is that you no longer have to become good at everything immediately. You are allowed to be a beginner—and astronomy provides a magnificent place to start.
There is always something else overhead.
- Night one: the Moon — Spend 20 minutes outside with binoculars. Study the line between shadow and sunlight. Notice the craters and ridges without trying to name them.
- Night two: three landmarks — Use a chart or app to identify three patterns or objects. Put the phone away, then find them again without help.
- Night three: go darker — Choose a safe place away from as much artificial light as practical. Stay at least 45 minutes and spend the first 15 simply letting your eyes adjust.
One important safety note
Never look directly at the Sun through binoculars, a telescope or a camera lens unless you are using purpose-built, correctly fitted solar-viewing equipment and understand how to use it. Permanent eye injury can happen almost instantly.
For night outings, choose a permitted location, tell someone where you are going, watch footing in the dark and dress for conditions that may feel much colder once you have been sitting still.